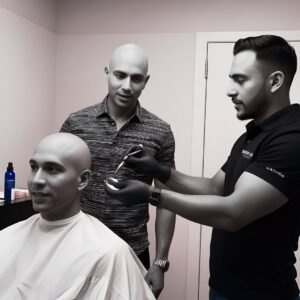

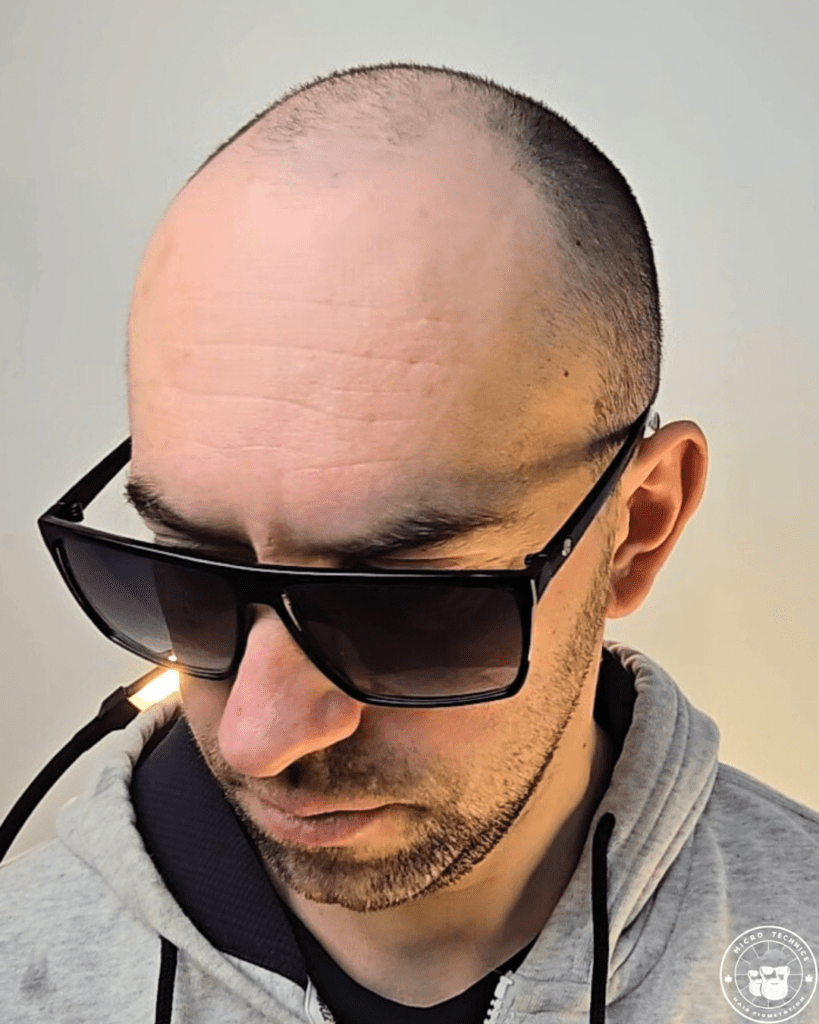
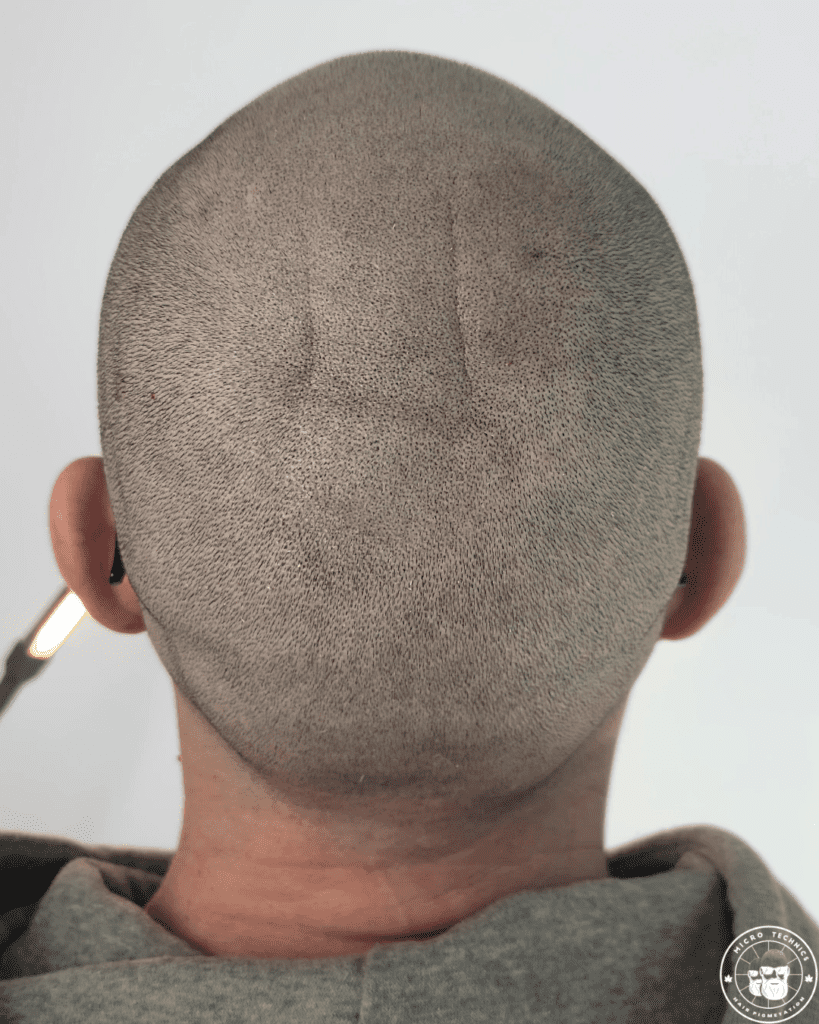
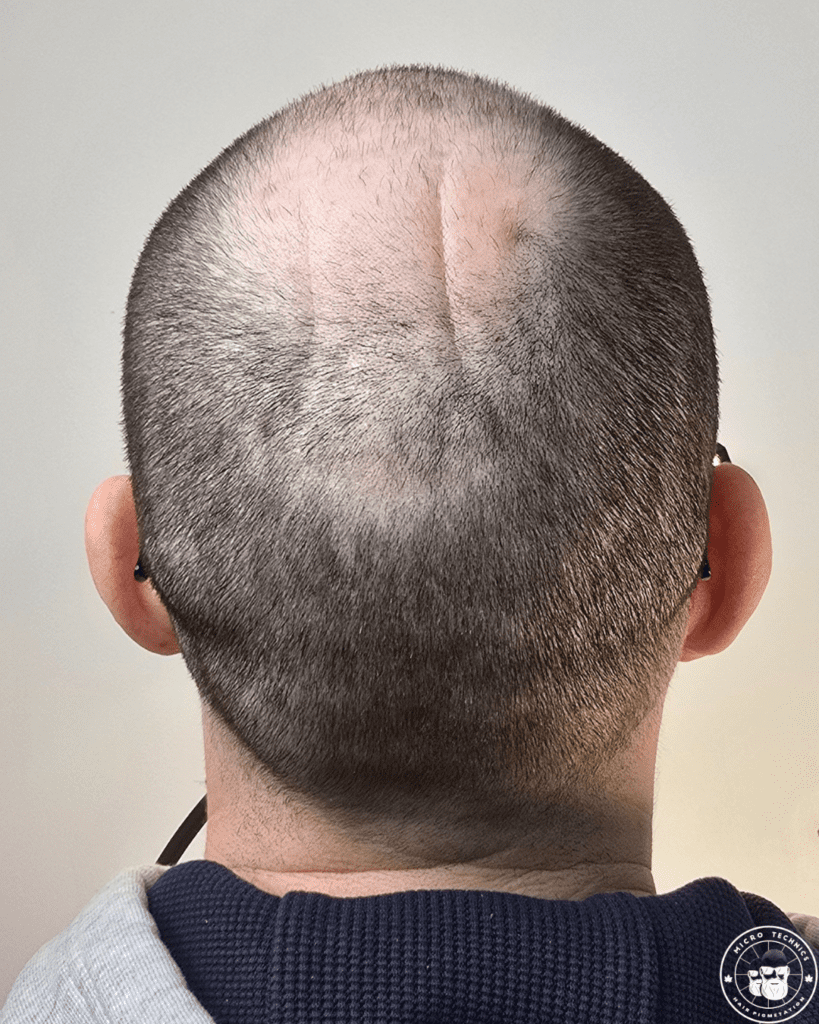
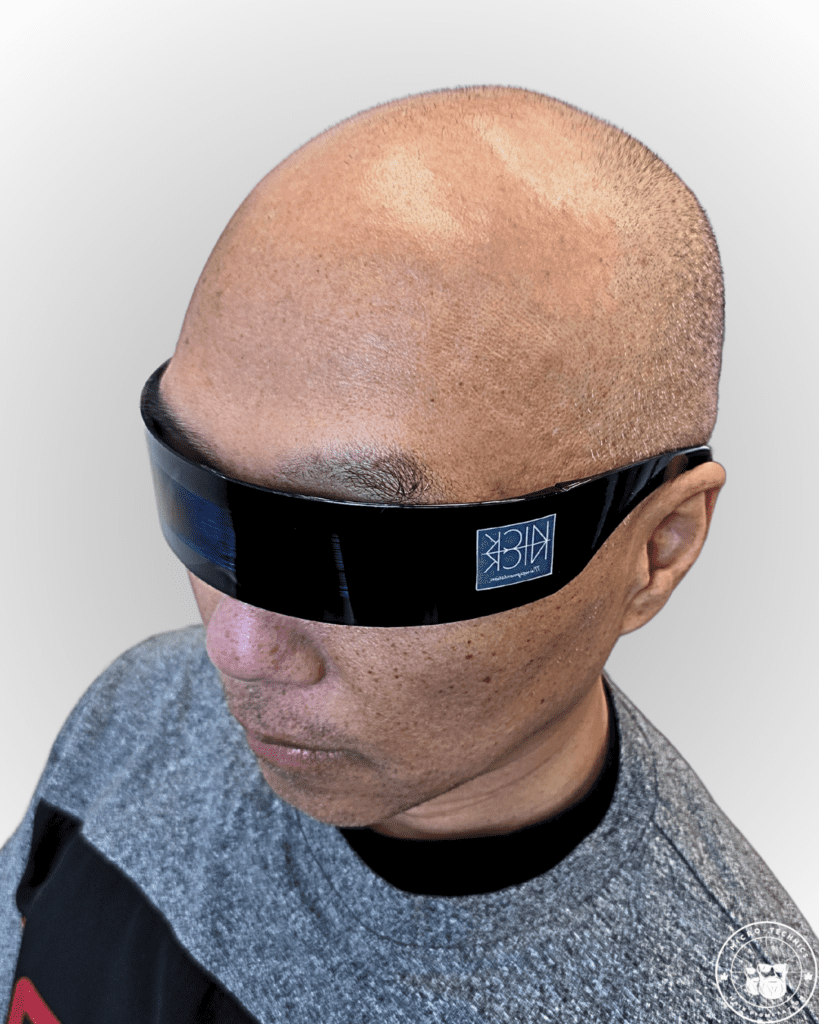
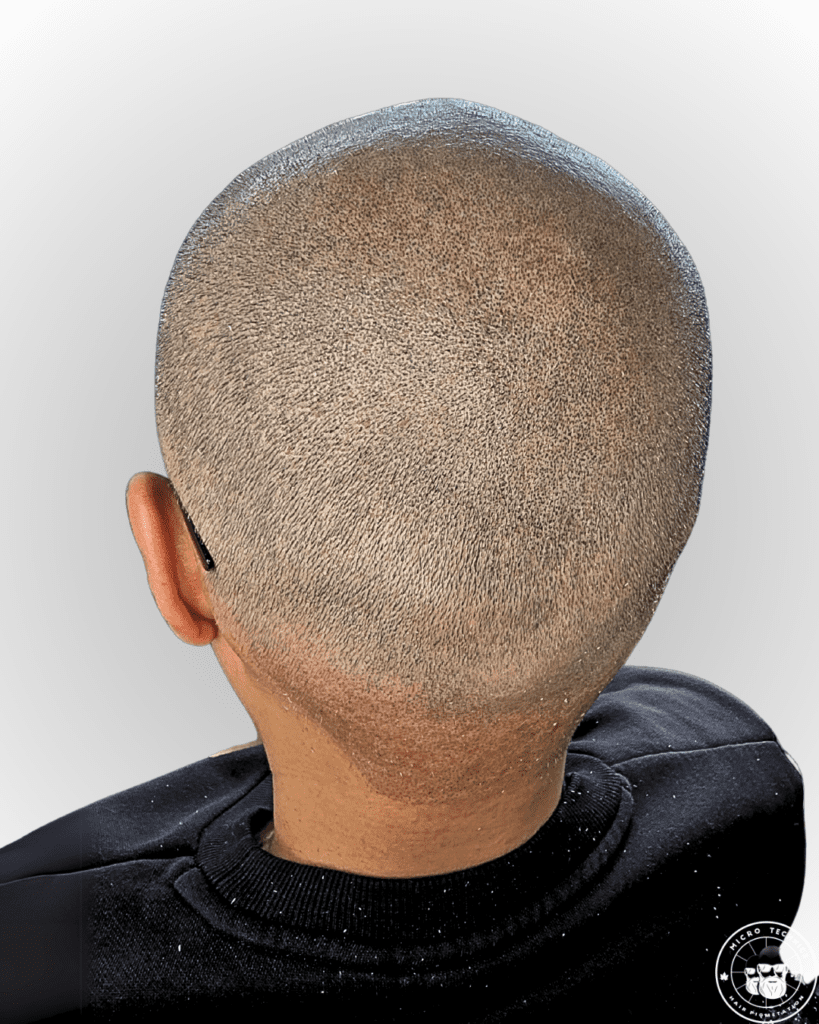

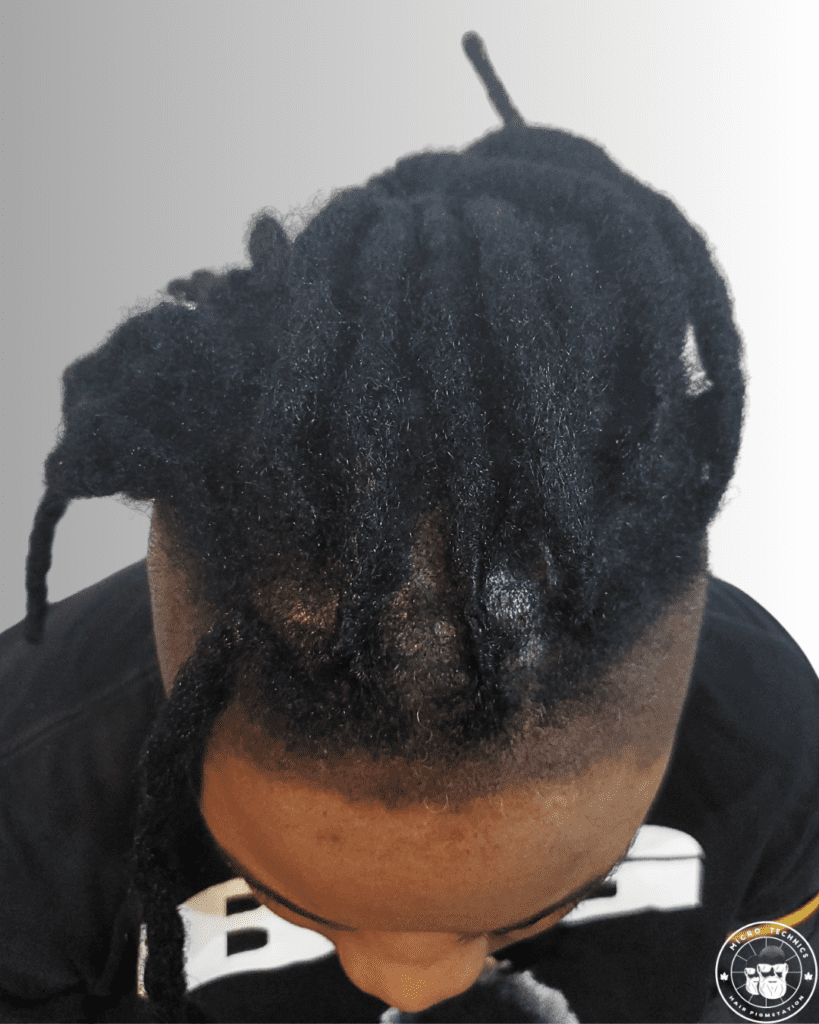
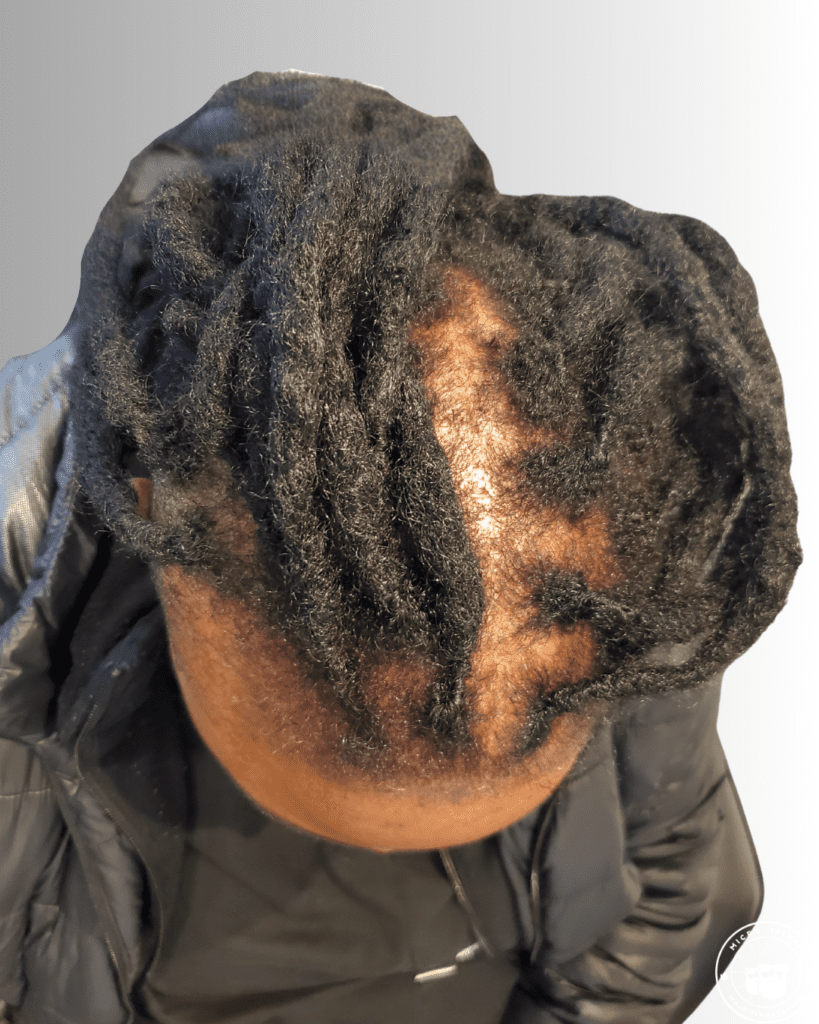
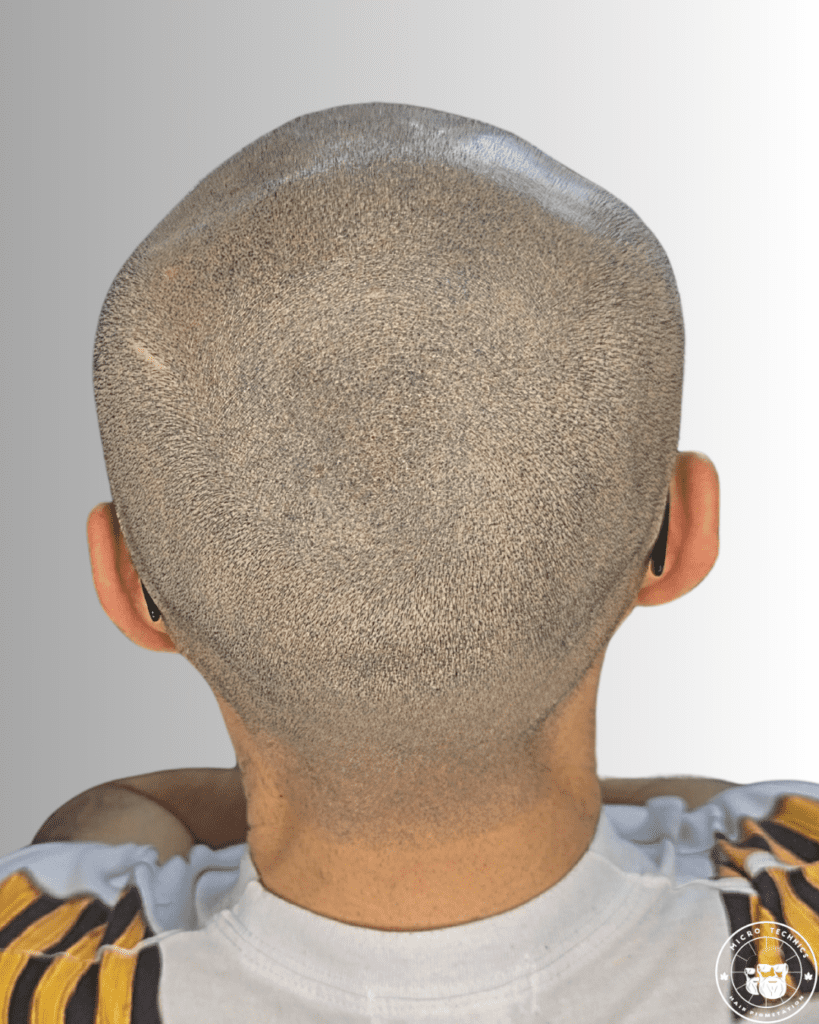
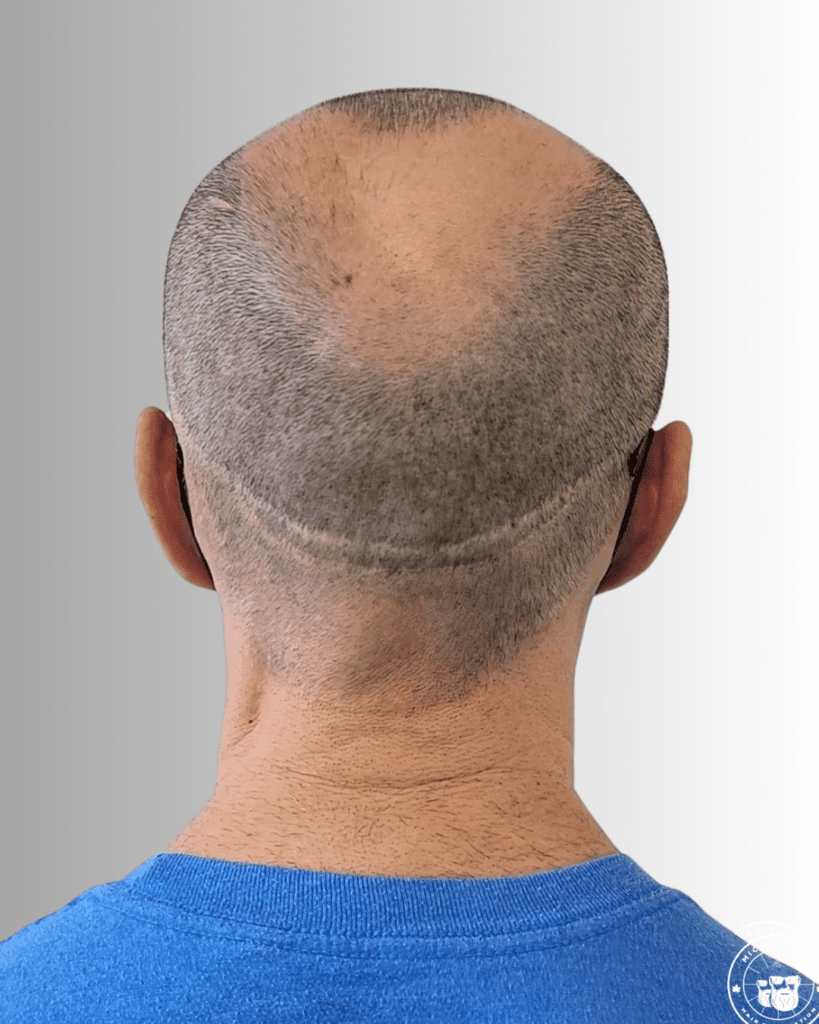

Each Subdermal Hair Pigmentation procedure is performed in controlled stages to achieve the safest and most natural result possible. The process begins by matching the scalp’s natural skin tone, allowing the pigment to heal and reveal its true appearance before any density is added. Once healed, the next stage focuses on matching hair tone, dot size, and natural pattern by carefully replicating the remaining hair on the sides and back of the head. Shaving frequency, hair thickness, and growth speed are all taken into account, as these factors directly influence how soft or defined the final result should be. This staged approach allows for precise adjustments based on healed results rather than rushed density.
Procedure highlights:
First session focused on skin-tone matching
Healing period to evaluate true pigment retention
Second and third sessions focused on hair tone, dot size, and pattern
Replication of natural hair characteristics from sides and back
Adjustments based on shaving frequency and hair growth speed
Results planned around healed appearance, not fresh pigment
With our consultation, we provide you with a live SMP simulation. You’ll get a glimpse of your potential transformation, which can be an invaluable part of your decision-making process. We believe in transparency and want you to be confident in your choice.
Peace of Mind: SMP is a transformative experience, and we want you to embark on this journey with confidence. Our consultation offers you the opportunity to ask questions, address any doubts, and build a rapport with our experienced technician. You’ll leave our studio with a clear plan and a sense of assurance.
-Your procedure will not fade completely for at least 3 years. While it doesn’t last forever, we recommend a touch-up every 4–7 years to maintain the color’s vibrancy
-Choosing us means you’ll never end up with a “Lego head!”

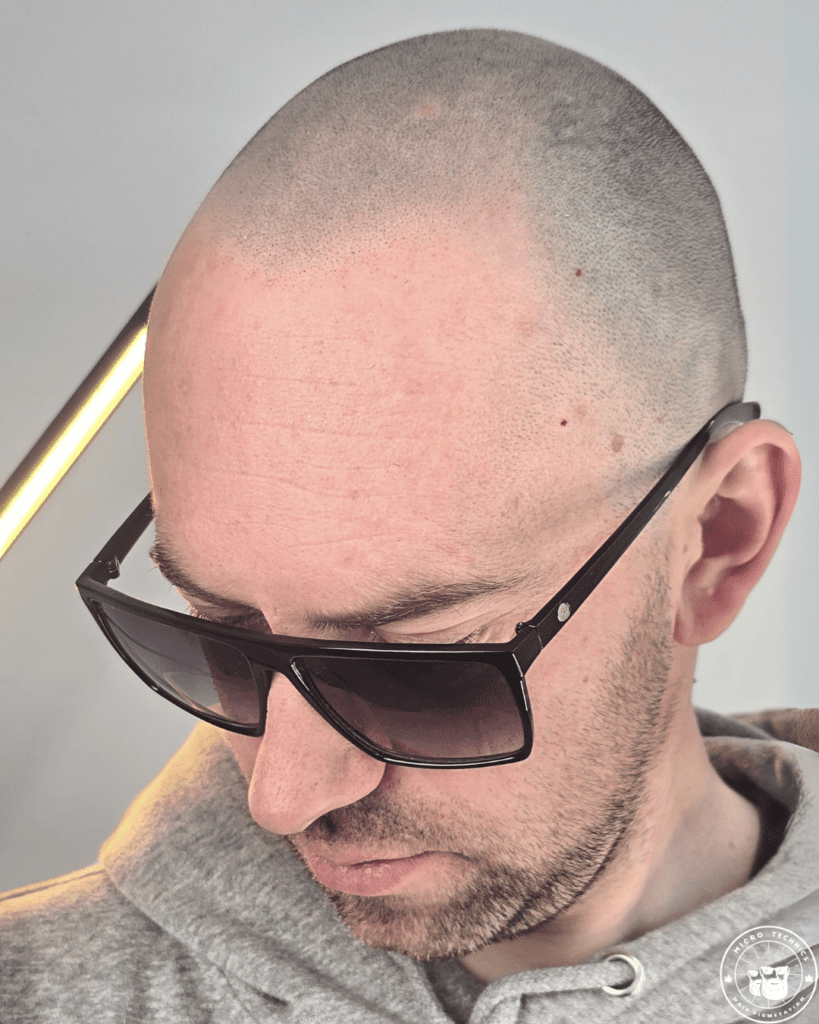
– We avoid large impressions, oversized dots, or blowouts. The size of the impressions is carefully matched to the current size of your follicles and the density of your hair. 
– We guarantee your SMP will never turn blue. 
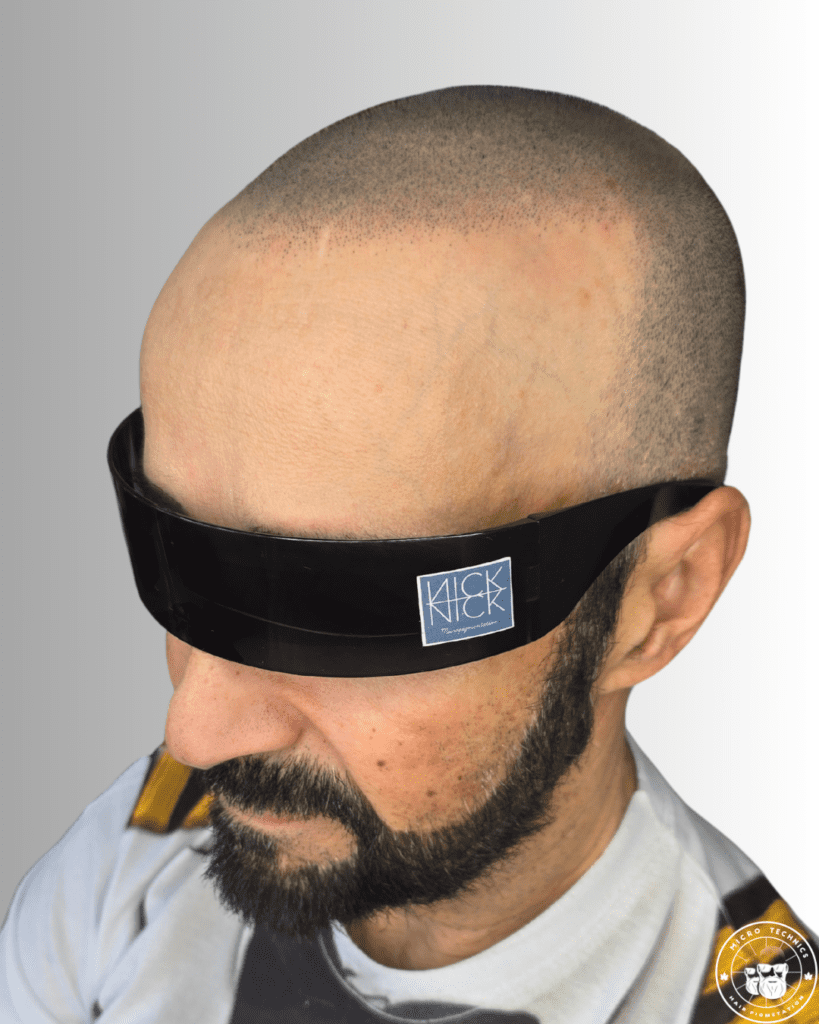
Because skin tone is the foundation of a natural result. Matching the scalp’s natural tone first allows me to see how your skin retains pigment once it has fully healed. Starting too dark or too dense can create unnatural contrast, especially in bright light. A skin-first approach gives me full control and allows adjustments to be made safely.
For normal to dry skin, full healing typically takes about one month. For heavily oily skin, healing can take up to three months, as oil production can affect how pigment settles and stabilizes in the skin. Based on how your skin responds, Nick may recommend specific products and additional care instructions to help manage oil and support optimal healed results. Healing time is never rushed, as each session is planned around how the pigment looks once fully healed.
It depends, as hair growth speed varies from person to person. Some men need to shave daily, while others maintain their look by shaving every 2–3 days. Being consistent with your shaving routine is important, as it helps maintain a clean, balanced, and natural-looking result at all times.
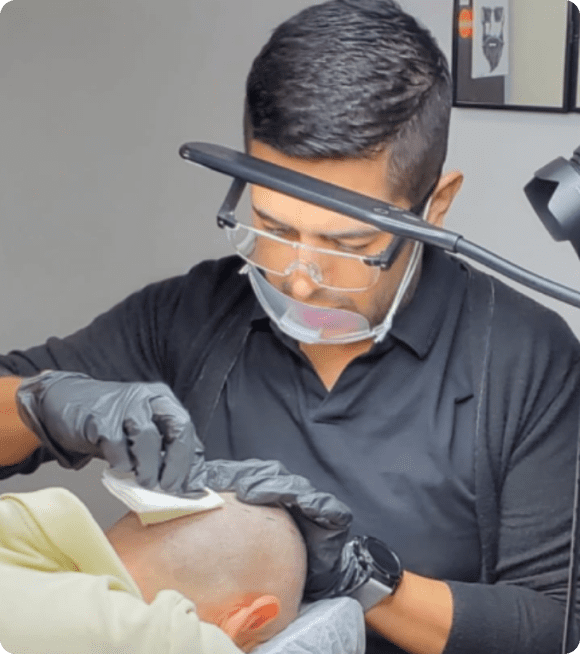
When you choose SMP with me, you’re not just booking a treatment; you’re investing in expert craftsmanship, natural realism, and results that stand the test of time.
How much does scalp micropigmentation cost?
The average price for a full scalp micropigmentation (SMP) procedure at Micro Technics SMP ranges between $3.000 to $4,000, depending on the level of hair loss and sessions needed. Every treatment includes a 12-month warranty with free touch-ups and adjustments if needed.
Payments can be made by debit, credit, or e-transfer, and each session is scheduled according to your payment plan.
Scalp Micropigmentation (SMP) works effectively on gray hair by using pigments that blend with the natural tones of your scalp and hair. The technician selects a lighter pigment shade that complements the gray hair, creating a natural look. Since SMP mimics the appearance of hair follicles rather than individual hair strands, the result looks like a closely shaved scalp or adds density to thinning areas.


PRE-PROCEDURE
- Shave or trim your scalp 24 hours before each session. Avoid cuts on it.
- Exfoliate your scalp 24 hours before each session.
- (For shaved scalps) Use body wash instead of shampoo and moisturizer every day since you booked your appointment for each session.
- (For long hair) Use natural shampoo and conditioner every day since you booked your appointment for each session.
AFTERCARE
- Keep your scalp dry for the following 2-4 days, and avoid sweat.
- Wash your scalp with warm/cold water 2 days after each session, avoiding direct water pressure, and don’t rub your scalp with your towel.
- After each session wait 4 days to start using the ointment every day twice a day, and if you feel your scalp dry and itchy and if you see dark flakes or thin scabs, try to protect it. This contains the ink, and it needs to come off from your scalp naturally. DO NOT TAKE IT OFF with your nails, towel, caps, paper, or anything!
- DO NOT APPLY ANYTHING ELSE DIFFERENT THAN THE OINTMENT!!! Do not use any oil.
- Do NOT STOP using the ointment until you finish it; if you still feel your scalp dry, buy more and keep applying it. If your scalp gets too oily, reduce the application of the ointment.
- Wash your scalp every day with warm/cold water, avoiding direct water pressure, and don’t rub your scalp with your towel.
- Avoid exposure to the sun.
- Avoid sweating. Do not do any kind of activity that may cause sweating.
- Avoid wearing caps or any headgear that prevents your skin from breathing or may make your scalp sweat.
- Do not shave your scalp for the first 7 days, and never use blades or close-to-the-skin shave systems.